Create .NET Web API in Rider
Create .NET Web API
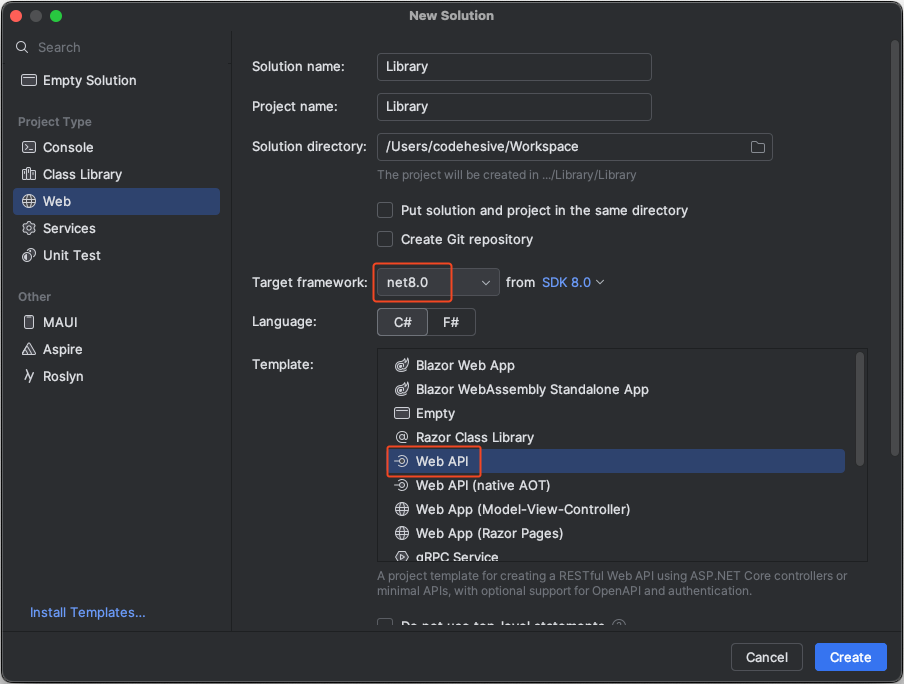
In Rider, go to File > New Solution.
Enter the solution name and select directory.
For Target Framework, select .NET 8.0.
For Template, select Web API.
There are multiple ways to run the project, at top right, press Run.
 {width=50%}
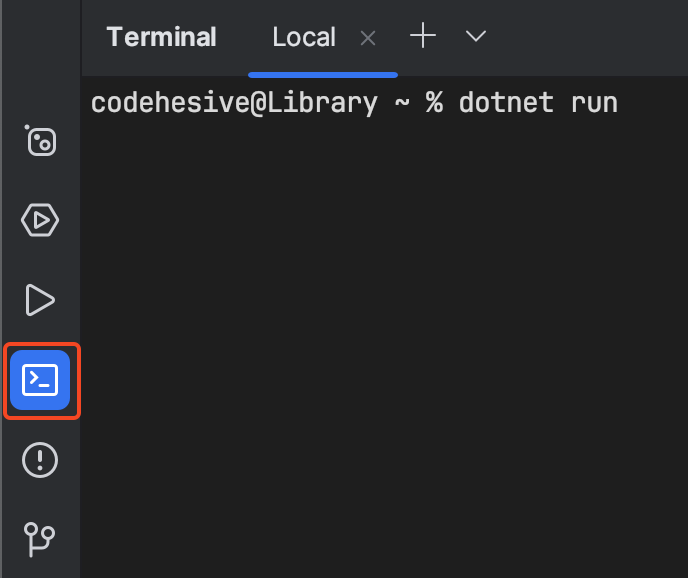
Rider has a built-in Terminal accessible at bottom left or using Ctrl + Cmd + 1
 {width=50%}
Or in Windows/MacOS Terminal, run
dotnet run
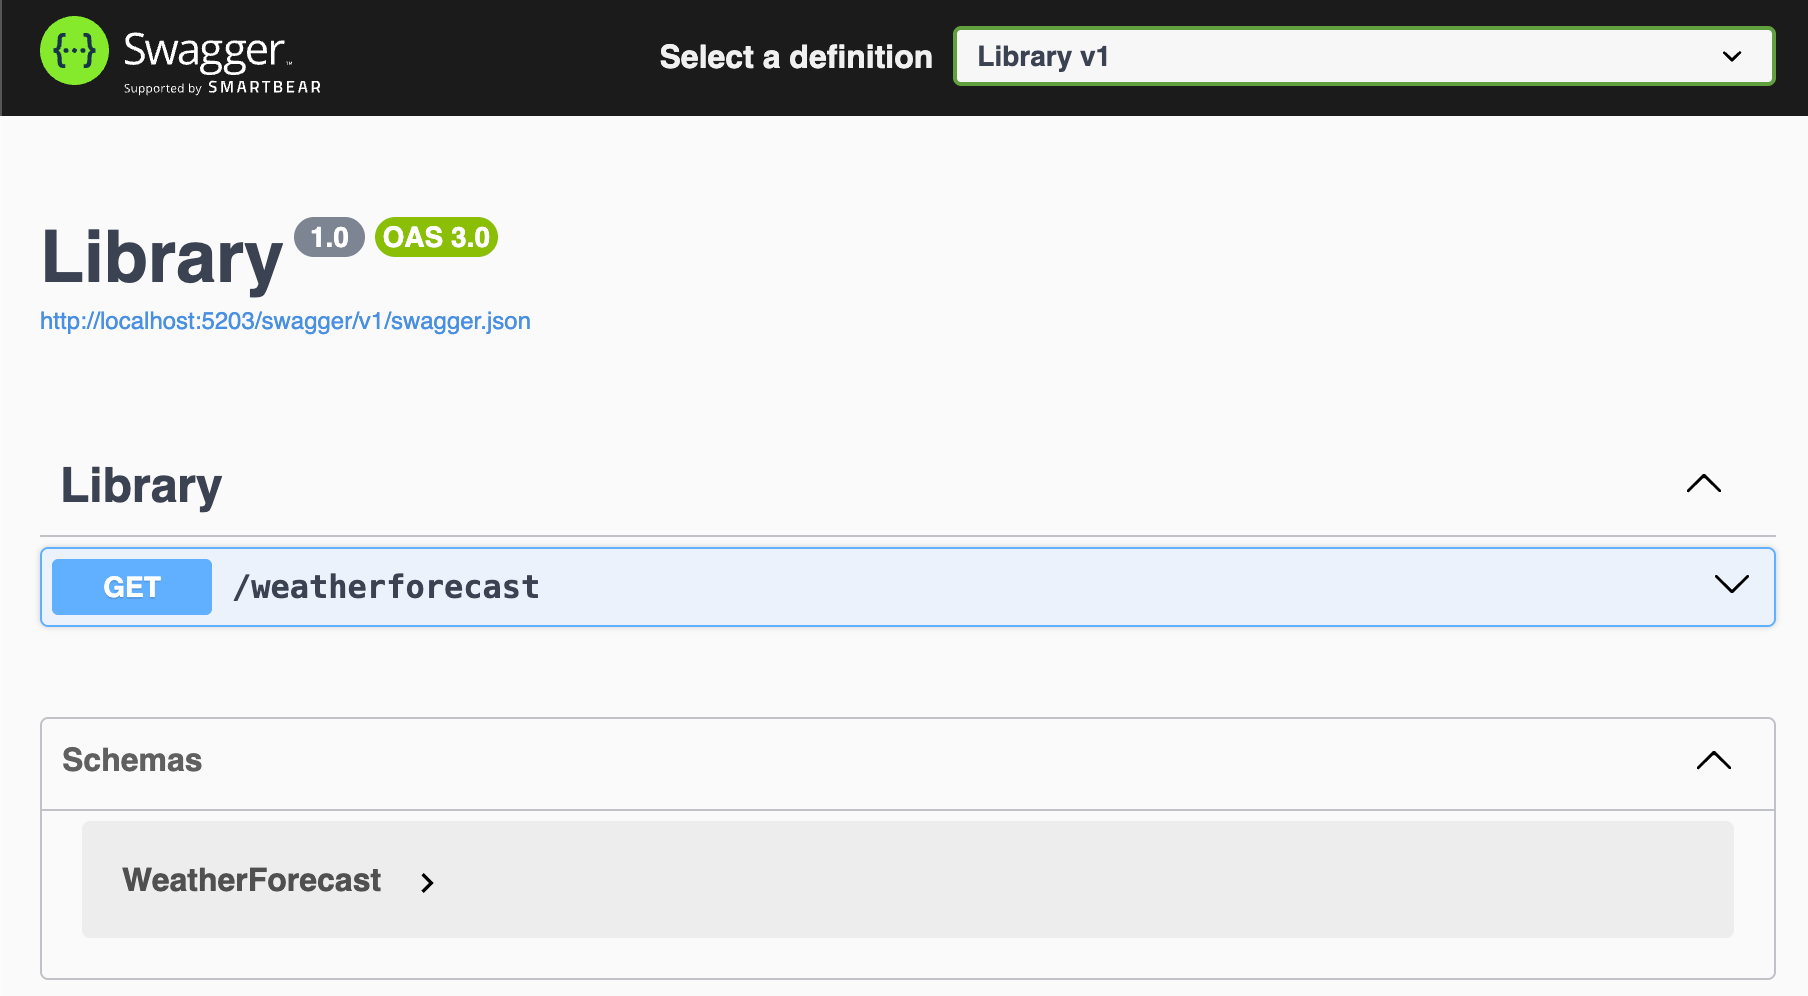
The browser containing Swagger will open
Create BookController
Right click main folder and add a directory Controllers.
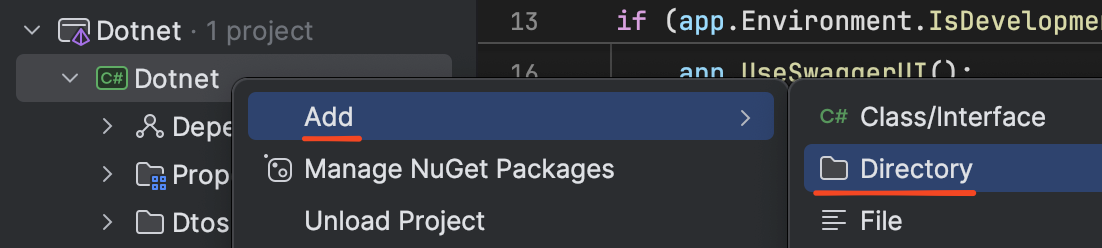 {width=80%}
Right click again to add a class/interface BookController.cs.
 {width=80%}
The code should look like this
using Microsoft.AspNetCore.Mvc;

namespace Library.Controllers;

[ApiController]
[Route("[controller]")]
public class BookController : Controller
{
    [HttpGet]
    public IActionResult Index()
    {
        var book = new { Id = 1, Title = "Dotnet" };

        return Ok(book);
    }
}
Back in Program.cs, add these 2 lines
var builder = WebApplication.CreateBuilder(args);

builder.Services.AddControllers(); //add this

//...

var app = builder.Build();

app.MapControllers(); //add this

//...
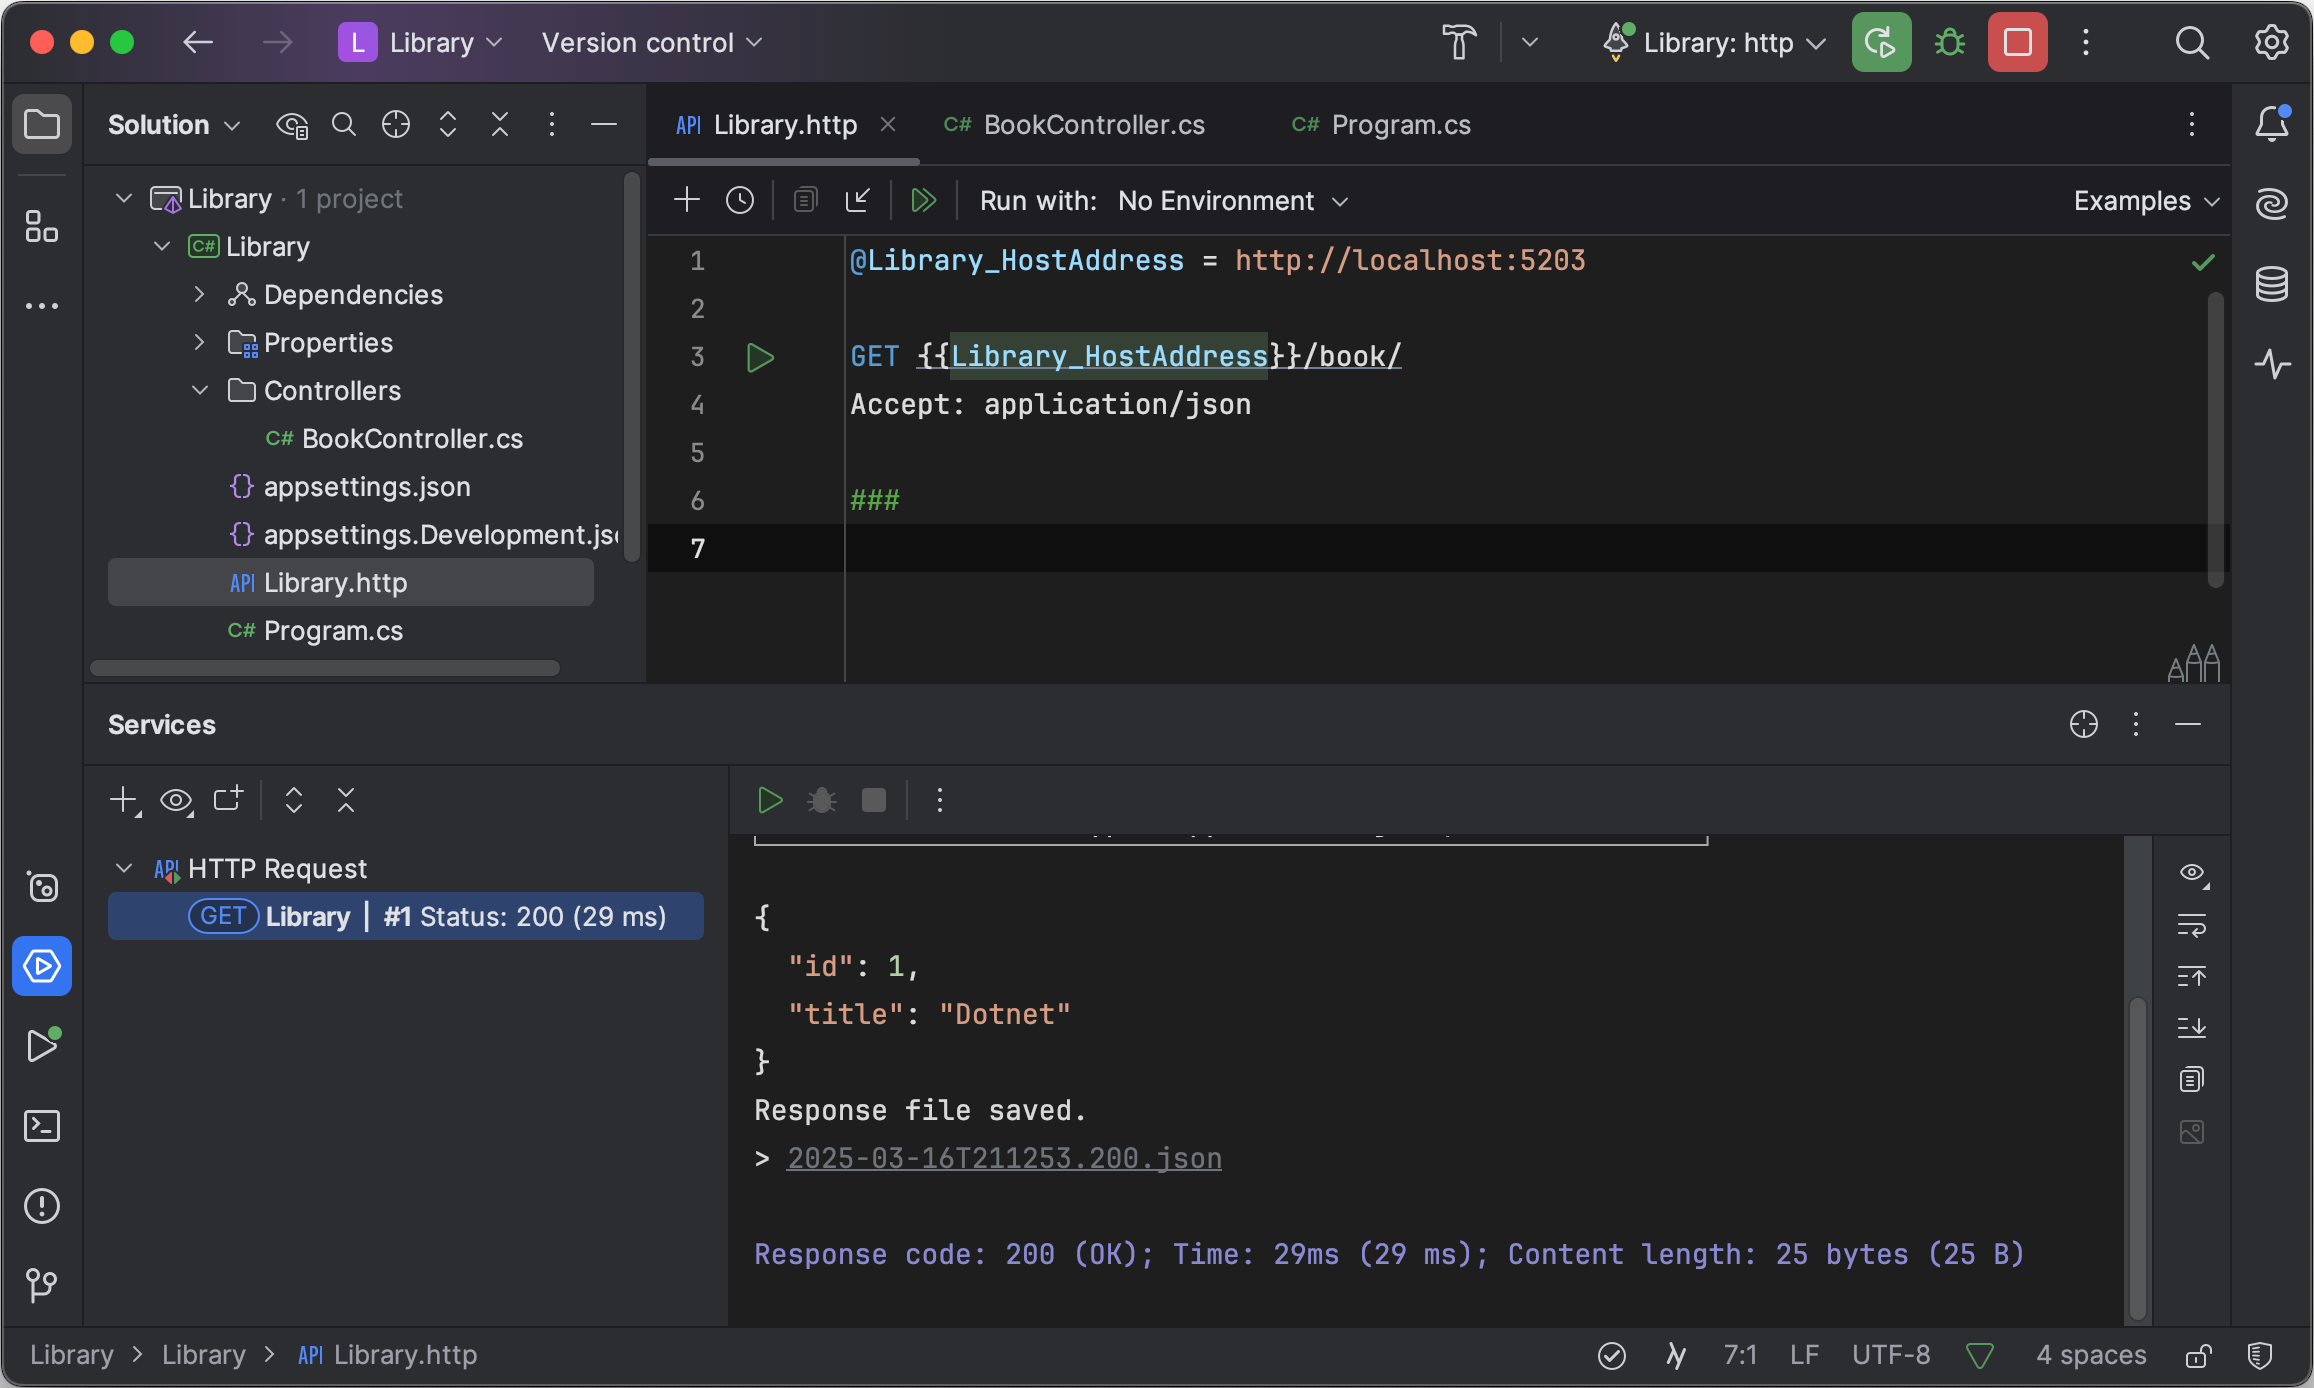
In Library.http, change the API to
GET {{Library_HostAddress}}/book/
Run the project again and run Library.http to ensure it works.